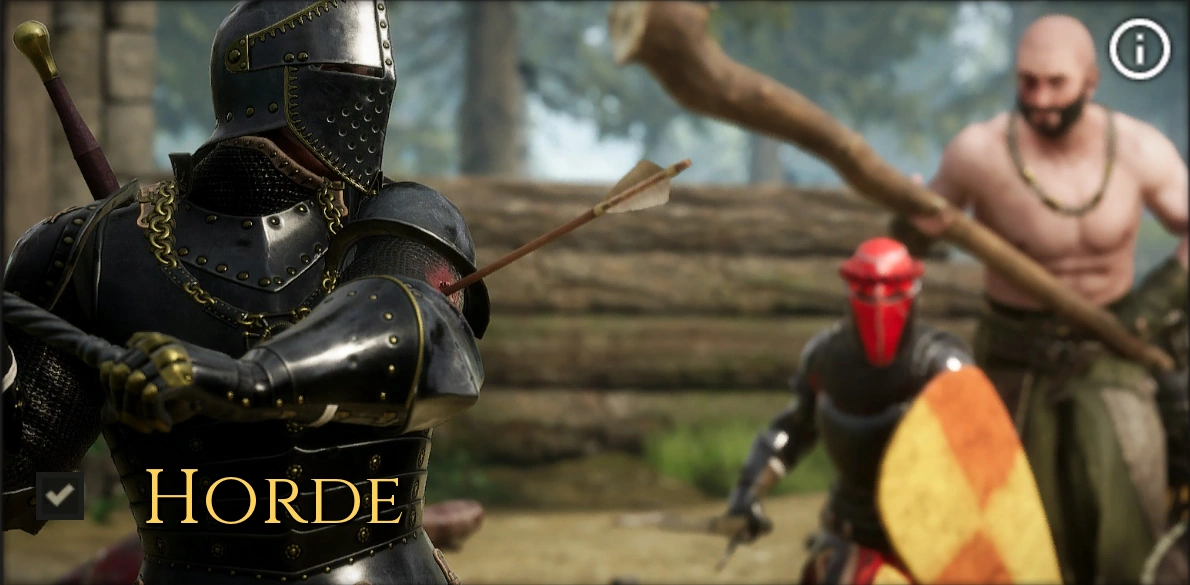
Horde[ | ]
Horde is a game mode in Mordhau.
Description[ | ]
| “ | Defend the Noble against increasingly difficult waves of AI enemies while upgrading your skills and weapons. | „ |
The Horde game mode consists of a lobby of 1 - 6 players working cooperatively to survive an onslaught of computer-controlled enemies attacking in "waves." Players can create their own private matches or join a random one either by quick match or server browser.
If players are killed during a wave, they will be moved to spectate for the duration of 60 seconds during which they can be immediately revived by other players. If the player is not revived after 60 seconds, then 15 seconds revive countdown starts after which the player will be respawned automatically. The match will end in "Defeat" if the Noble is eliminated, or "Victory" if Wave 25 is overcome.
All players spawn completely unarmed and unarmored. Each player is provided 200 currency during the pre-wave phase before Wave 1. This currency, indicated in the bottom left corner of the HUD, is used to purchase equipment like weapons, armor, and utility items (i.e. toolbox or medic bag).
Killing any enemy in melee will heal a player for 15 HP. Passive health regeneration is disabled in Horde, but remember you can still seek out bandages or medic bags if you're being routed.
Enemies[ | ]
In horde there are many different types of enemies that have different armor, weapons, and even skill.
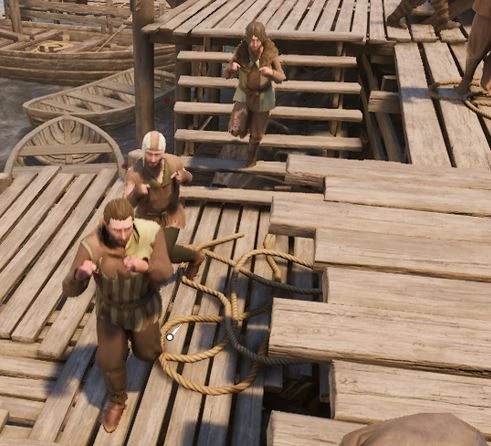
Peasants[ | ]
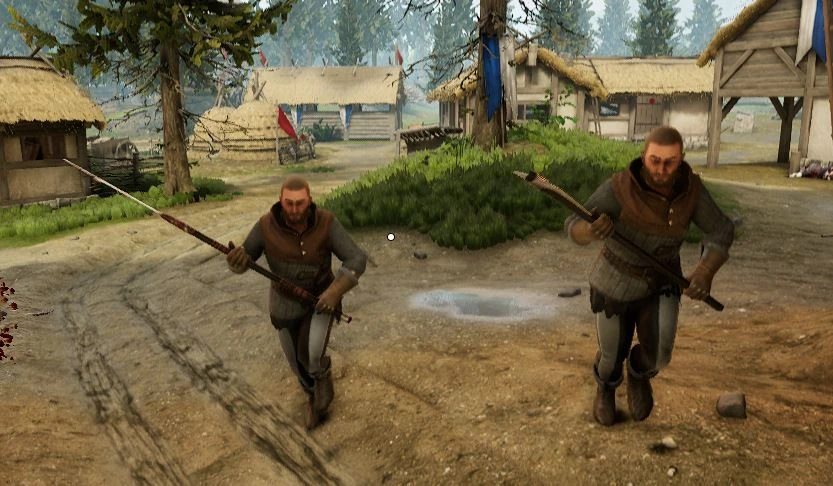
During the beginning of the match, the first enemies to spawn are Peasants. Peasants are lightly armored with poor weaponry, they are the cannon fodder of horde and can quickly overwhelm you if you're not careful. Due to their lack of armor, an attack to the head should heavily injure if not kill them. The Peasants have very little combat skill, they will rarely parry or kick you. Their clothing is normally tan and has no distinct features.
They use farming implements and their fists as weapons.
- Scythe
- Sickle
- Sledgehammer
- Rake
- Rusty Shovels
- Rusty Fork
- Fists
- Heavy Branch
Some of the peasants are also capable of wielding a Heater Shield on top of a singlehanded weapon.
Peasant Madmen[ | ]
Spawning alongside ordinary peasants, and encountered as early as Wave 1, Madmen are devious, fleet-footed tricksters. They move very quickly and often throw smoke bombs to initiate an attack. When engaging a player, they will close distance incredibly fast in comparison to other early-game enemies, and proceed to "hug" the player as close as they can while they unleash a flurry of blows from their weapon of choice, the Carving Knife.
While just as fragile as Peasants, and not able to do much in one-on-one combat, being caught off guard by a Madman can still kill an unarmored player in the blink of an eye. This is owing to their equipment and their tactics. A well-placed smoke bomb, for example, can disorient a player and make it extremely difficult to resist an attacking horde, especially as they start to surround them. Similarly, the Madmen themselves will sometimes spawn in groups and all attack a single target. An unarmored player can be killed incredibly fast by three or more Madmen, who will each be slicing and dicing without relent, and tend to surround the player when attacking.
- Carving Knife
- Smoke Bombs
- Fists
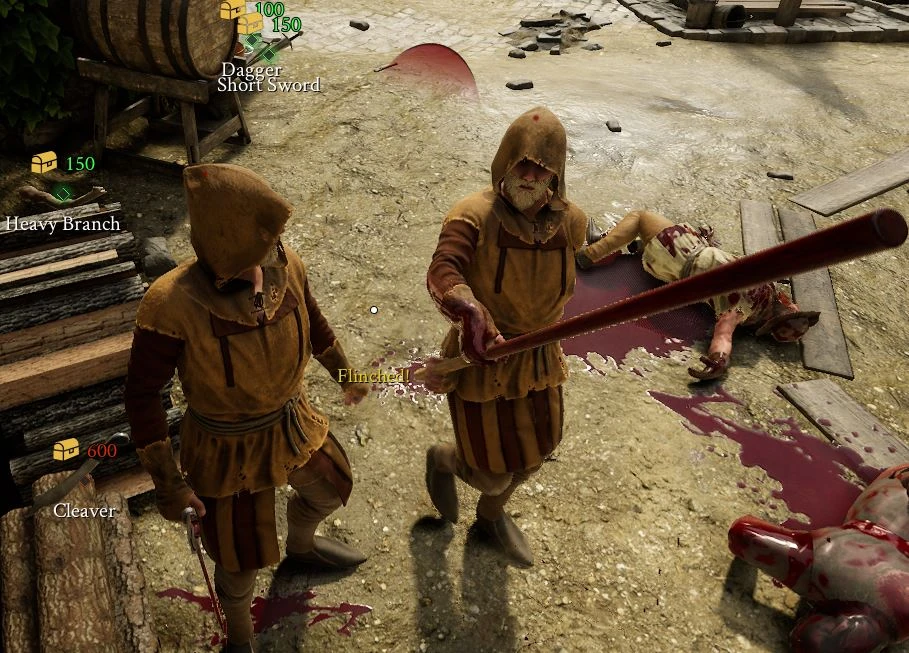
Militia[ | ]
Seen about the same time as Madmen, they have no substantial armor and have mediocre weapons. They wear dark clothes and have tier 1 armor. They parry more frequently than other enemies and have a better handling on weapons and attack more frequently too.
- Messer
- Cleaver
- Arming Sword
- Short Sword
- Falchion
- Warhammer
- Axe
Some sell-swords can be found wielding longer melee weapons.
- Billhook
- War Axe
- Messer
Sentry[ | ]
The Sentry is the first moderately armored enemy the player sees. They cautiously approach the player with their shield constantly up. When within range and having a small amount of time the Sentry will attack. They will block the player's attacks, but they do little in response to being kicked. The player could get away with kicking them and then attacking for a quick hit.
- Heater shield
- Short sword
- Dagger
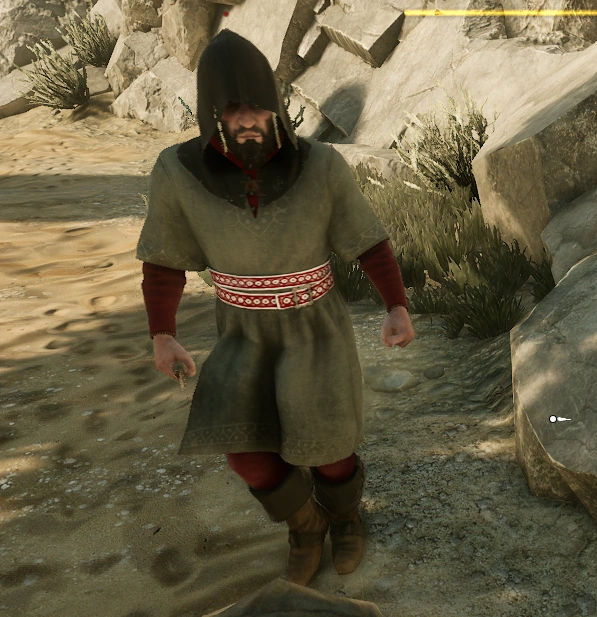
Rogue[ | ]
Effectively the upgraded version of the Madmen. The rogue is similarly equipped with no armor and a smoke bomb. Unlike the madmen, they also have throwing knives and a quarter staff. Instead of a carving knife, they have a dagger. Their clothing is tan with a hood, their face typically has a beard. They will parry more often, and try the same smoke bomb ambush trick as the madmen.

- Dagger
- Quarterstaff
- Throwing Knives
- Smoke Bomb
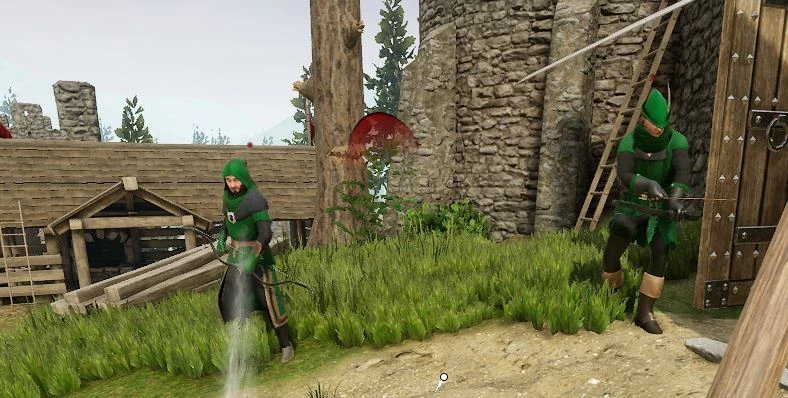
Archers[ | ]
Ranged units that appear not long after the Sentry. They can be seen wearing full green light armor, and wield bows. They will attack from a low range and pepper the player with arrows. They usually have a small melee weapon in case any player steps into their melee range. They are not very proficient with melee and will most likely not parry often.

- Recurve Bow
- Dagger
- Short Sword
- Fists
Landsknechts[ | ]
Appears in middle waves, they can be easily identified thanks to them wearing bright colors (compared to other enemies) such as red, white, yellow, light green, etc. They can be seen wielding the longest melee weapons.
- Spear
- Poleaxe
- Polehammer
- Bardiche
- Zweihander
Soldiers[ | ]
Appears in the middle waves replacing the cannon fodder that is to say the Peasants and Sellswords. They are clad in medium armor and wield an assortment of both short and long melee weapons.
- Mace
- Arming Sword
- Bastard Sword
- Longsword
- Short Spear
- Messer
- Eveningstar
- Maul
- Battleaxe
- War Axe
There are some soldiers that use ranged weapons and they can be usually be identified thanks to the Pavise Shields they are wearing on their backs. If they only came to the battle with a ranged weapon, stepping into their melee range will result in them raising their fists to attempt to fight.
- Pavise Shield
- Crossbow
- Longbow
- Short Sword
- Fists
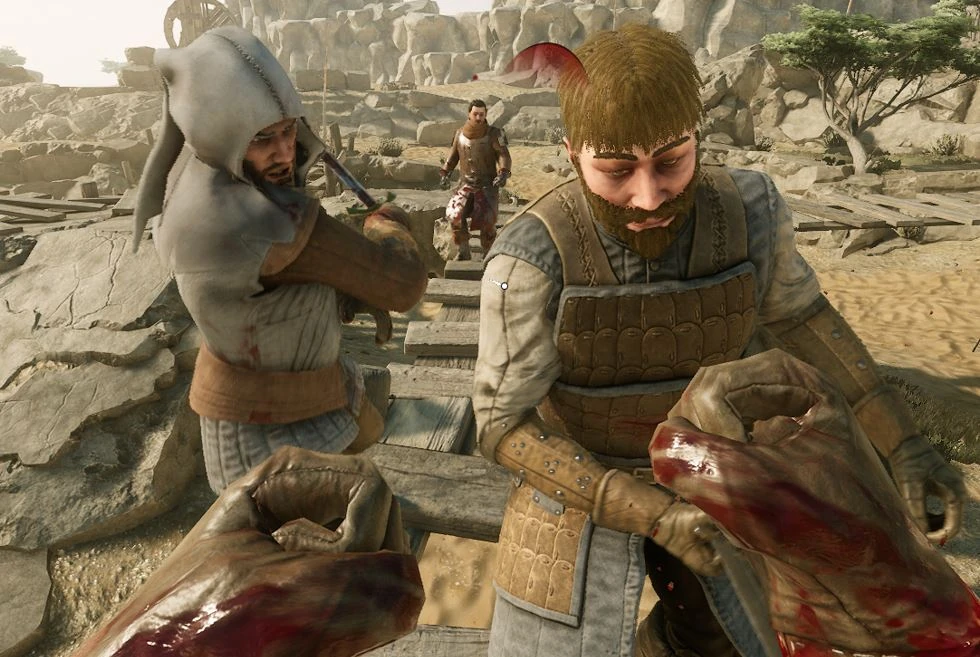
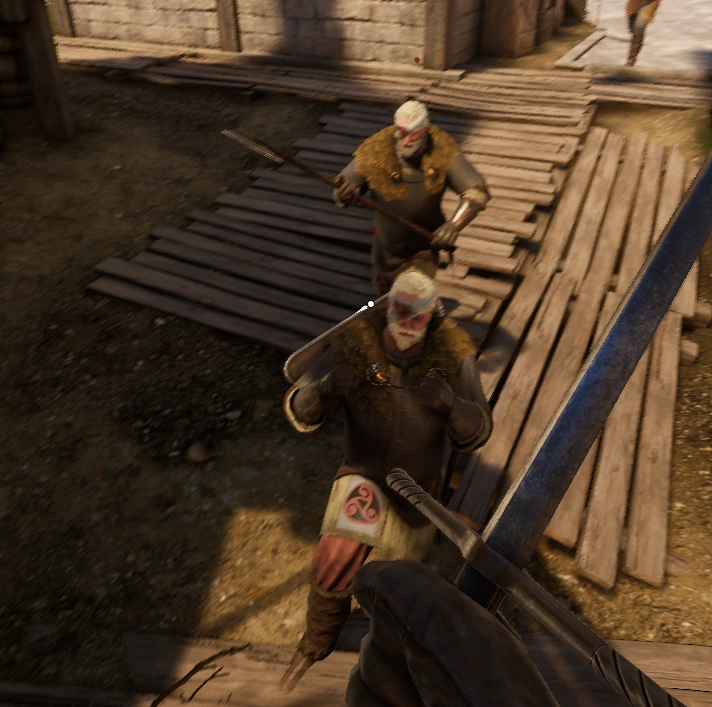
Raiders[ | ]
Appears in the middle waves replacing the madmen. They can be identified by them wearing medium armor with no helmets, showing a rugged face clad in bandages. By replacing the madmen, they can be seen bringing both throwing and melee weapons; usually any weapon with "axe" in it (save for the Poleaxe). They can seldom be seen using their fists for some reason.

- Axe
- Throwing Axes
- War Axe
- Battleaxe
Knights[ | ]
The last of the cannon fodder to be experienced, they appear in the later waves (usually around Wave 15). They are clad in Heavy Armor and they wield long melee weapons. They are also observed to have better attack and defense patterns and can be found rushing towards the nearest player.
- Longsword
- Bastard Sword
- Estoc
- Zweihander
- Falx
There is a variation of the Knight that uses a shield. They can be found wearing red and appears in the same waves as their fellow knights.
- Kite Shield
- Short Sword
Tomatoes[ | ]
Only appears in the last waves (From Wave 19), Tomatoes, also known as Yeets, Patchies, or Heep Whitacre are incredibly easy to identify by their short, wide bodies, bright red clothing, and green helmets, making them resemble tomatoes. They do almost nothing but throw firebombs at players, which can create a lot of chaos, especially if multiple appear in a single group.
- Unlimited amount of firebombs
- Axe
Note that their Firebombs do not deal any damage to their allies.
Ninjas[ | ]
A little smaller, black clothed units. They appear in the later waves. They are like buffed Peasant Madmen, uses own ninja sword that can't make players flinched but quick, also has more damage and length than Carving Knife.
Bosses[ | ]
Juggernauts[ | ]
Juggernauts are incredibly powerful Boss enemies, clad in a full set of black heavy armor and taking far less damage from attacks than normal. They also bear a deadly Great Maul, which can easily kill a player in one or two hits. Thankfully, they only spawn in the middle to late waves, and there are usually only one or two present at a time. Strangely enough, the Juggernauts will only attack the players if they try to attack them first so this may be used against them.
- Great Maul
Ogres[ | ]
Boss enemies in the same vein as Juggernauts, Ogres are shirtless brutes that are much larger than the average enemy, while barely taking any damage from most attacks and easily one-shotting even heavily armored players with their clubs. One major weakness they possess, however, is their incredibly slow movement speed, as well as the fact that only one will spawn per wave, usually. The safest way to take down an ogre is to abuse its slow movement, staying far away from it while dealing with the other enemies first, then pestering it with firebombs and ranged weapons without ever letting it get close enough to swing at you. Keep in mind that parrying or performing any sort of chamber attacks will force the player to ragdoll, leaving them vulnerable to their next hit and ultimately, their finishing blow.
- Ogre Club
Seymour[ | ]
Spawns on the Last Wave (Wave 25), he carries a longsword and only a helmet with shorts. Don't be fooled by his lack of armor because he can force the player to ragdoll upon hit, cannot be stunned, will damage the player when his attacks are parried
and has a very large health pool, making him the hardest enemy to defeat.
After Seymour lands a killing blow on an ally, his health will be fully replenished, meaning that you should ensure nobody comes in contact with him and you bombard Seymour with firebombs and arrows from a distance.
But remember, He always gets back up.
Weapons[ | ]
Each weapon from other Mordhau modes make an appearance in Horde, but there are also a number of Horde-specific weapons and equipment. notably there are some changes to range and throwables. range like the bow or crossbow have more ammo capacity and throwables like javelins and bombs are able to passively refill.
Chests[ | ]
There are three tiers of chests at different prices which reward (or punish) the player with random loot.
Common Chest[ | ]
This chest costs 300 gold and has the following drop rates:
| Item | Percent Chance |
|---|---|
| Arming Sword | 1.27% |
| Arming Sword broken | 2.53% |
| Arming Sword rusty | 2.53% |
| Axe | 3.80% |
| Bastard Sword | 3.80% |
| Blacksmith hammer | 2.53% |
| Buckler | 1.27% |
| Dagger | 6.33% |
| Falchion | 1.27% |
| Frying pan | 3.80% |
| Hand axe | 1.27% |
| Hoe | 3.80% |
| Knife | 2.53% |
| Longsword | 1.27% |
| Longsword broken | 3.80% |
| Longsword rusty | 3.80% |
| Mace | 1.27% |
| Mallet | 2.53% |
| Metal fork | 1.27% |
| Metal shovel | 1.27% |
| Pickaxe | 3.80% |
| Quarterstaff | 6.33% |
| Rake | 5.06% |
| Scythe | 2.53% |
| Short spear | 2.53% |
| Short sword | 1.27% |
| Sickle | 1.27% |
| Sledge hammer | 1.27% |
| Smoke bomb | 1.27% |
| Stick | 1.27% |
| Targe | 3.80% |
| Throwable rock | 7.59% |
| Throwing knife | 1.27% |
| Turd | 5.06% |
| Warhammer | 1.27% |
| Wooden shovel | 2.53% |
Rare Chest[ | ]
This chest costs 1000 gold and has the following drop rates:
| Item | Percent Chance |
|---|---|
| Axe | 6.35% |
| Bardiche | 1.59% |
| Battle Axe | 1.59% |
| Beartrap | 6.35% |
| Billhook | 3.17% |
| Buckler | 9.52% |
| Crossbow | 3.17% |
| Estoc | 3.17% |
| Executioner sword | 1.59% |
| Fire bomb | 6.35% |
| Greatsword | 3.17% |
| Hand axe | 3.17% |
| Heater | 3.17% |
| Longsword | 3.17% |
| Mallet | 6.35% |
| Messer | 3.17% |
| Pavise | 3.17% |
| Rapier | 3.17% |
| Recurve bow | 3.17% |
| Throwing axe | 6.35% |
| Throwing knife | 3.17% |
| Turd | 9.52% |
| War axe | 3.17% |
| Zweihander | 3.17% |
Epic Chest[ | ]
This chest costs 1750 gold and has the following drop rates:
| Item | Percent Chance |
|---|---|
| Bardiche | 4.17% |
| Bear trap | 4.17% |
| Falchion | 8.33% |
| Falx | 8.33% |
| Fire bomb | 4.17% |
| Greatsword | 4.17% |
| Hallberd | 4.17% |
| Kite shield | 4.17% |
| Longbow | 4.17% |
| Mace | 4.17% |
| Maul | 4.17% |
| Pavise | 8.33% |
| Polehammer | 4.17% |
| Roundshield | 4.17% |
| Spear | 4.17% |
| Throwing axe | 8.33% |
| Turd | 12.50% |
| Zweihander | 4.17% |
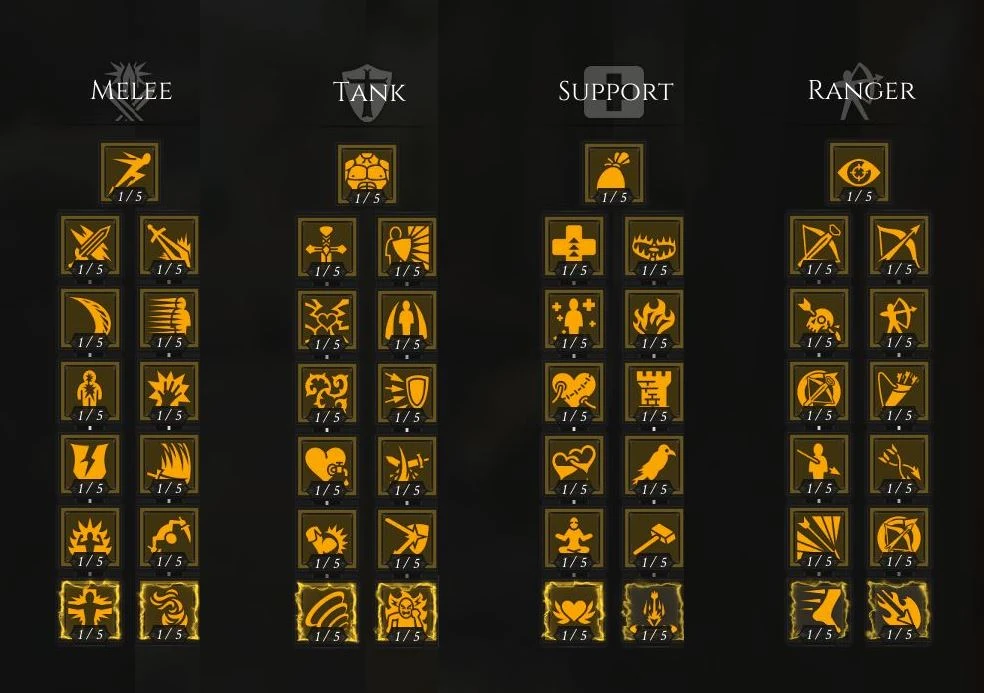
Skills tree[ | ]
the skill tree allows the player to improve them selves. each skill requires 1 skill point witch can be earned each wave. you can improve a skill 5 times, each making the skill better. there are 4 main skill trees each having 1 initial branch and 2 separating branches. at the end of each branch there's a "special skill" witch if unlocked, all other special skills will be lock for the rest of game.

Melee[ | ]
- Marathon (increase movement speed by x/x/x/x/x)
Melee left[ | ]
- Haymaker (increase 1 handed strike melee damage by x/x/x/x/x)
- Sweep (leg melee hits have a chance to rag doll enemies by x/x/x/x/x)
- Berserker (output more melee damage the lower your hp by x/x/x/x/x)
- Brute force (deal chip damage on blocked attacks by x/x/x/x/x)
- Overpower (add a chance to stun a blocking enemy by x/x/x/x/x)
- Immortality (become invulnerable and unquenchable for x/x/x/x/x)
Melee right[ | ]
- Finesse (increase 1 handed thrust melee damage by x/x/x/x/x)
- Dodge (increase dodge and attack lunge distance by x/x/x/x/x)
- Dexterity (decrease attack windup by x/x/x/x/x)
- Critical strike (chance to do 2x damage by x/x/x/x/x)
- Backstab (bonus damage when hitting an enemy from behind by x/x/x/x/x)
- Vanish (activate to engulf yourself in smoke causing enemies to lose sight of you (not bosses) for x/x/x/x/x)
Tank[ | ]
- Toughness (reduce damage taken by x/x/x/x/x)
Tank left[ | ]
- Lever action (increase 2 handed melee damage by x/x/x/x/x)
- Adrenaline (attack remain uninterrupted if the damage received is within the threshold by x/x/x/x/x)
- Thorns (reflect melee damage back to the source by x/x/x/x/x)
- Leech (heal for a percent of melee dealt by x/x/x/x/x)
- Leg day (increase kick damage and reduce kick windup by x/x/x/x/x)
- Shock wave (activate to push all nearby enemies away, dealing damage by x/x/x/x/x)
Tank right[ | ]
- Guardian (equipped shield absorbs some damage if hit x/x/x/x/x)
- Discipline (reduce damage while walking or standing still by x/x/x/x/x)
- Padding (increase passive damage absorption when shield is equipped by x/x/x/x/x)
- Counter (ripostes cannot be flinched, have increased damage and have a chance to be unblockable by x/x/x/x/x)
- Recoil (adds a chance to stun enemies and reflects damage when successfully blocking their attack (not bosses) by x/x/x/x/x)
- Taunt (activate to attract the attention of nearby enemies and gain damage resistance by x/x/x/x/x)
Support[ | ]
- Merchant (reduce the cost of engineer and healing items by x/x/x/x/x)
Support left[ | ]
- Health insurance (gain more health on kill by x/x/x/x/x)
- Regeneration (activates health regeneration by x/x/x/x/x)
- Last chance (survive a killing blow once per wave and regain hp by x/x/x/x/x)
- Samaritan (health gained on kill is shared with the team by x/x/x/x/x)
- Miracle (add a random change that a received melee or ranged attack will do no damage by x/x/x/x/x)
- Divine favor (activate to heal all allies to full hp by x/x/x/x/x)
Support right[ | ]
- Trapper (bear traps automatically reset themselves by x/x/x/x/x)
- Pyro (increase fire damage by x/x/x/x/x
- Sturdy (increase structure damage resistance by x/x/x/x/x)
- Scavenger (adds a change to get toolbox ammo on kill by x/x/x/x/x)
- Maintenance (structures passively gain hp by x/x/x/x/x)
- Volley (activate to mark an area for immediate arrow bombardment by x/x/x/x/x)
Ranger[ | ]
- Keen sight (increase projectile damage by x/x/x/x/x)
Ranger left[ | ]
- Aimed shot (crossbow bolts deal more damage by x/x/x/x/x)
- Headhunter (projectile headshots deal even more damage by x/x/x/x/x)
- Efficiency (increase crossbow reload speed by x/x/x/x/x)
- Bodkin tip (crossbow bolts penetrate targets by x/x/x/x/x)
- Critical shot (adds random chance to deal double projectile damage by x/x/x/x/x)
- Advanced reload (allows movement while reloading the crossbow by x/x/x/x/x)
Ranger right[ | ]
- Yeomen (arrows deal more damage by x/x/x/x/x)
- Ranger (reduces movement slowdown while aiming by x/x/x/x/x)
- Fletcher (adds a chance to restock an arrow that hit by x/x/x/x/x)
- Scattershot (adds a chance to lose two additional arrows by x/x/x/x/x)
- Sleight of hand (increase bow reload speed by x/x/x/x/x)
- Fire arrows (arrows light targets on fire by x/x/x/x/x